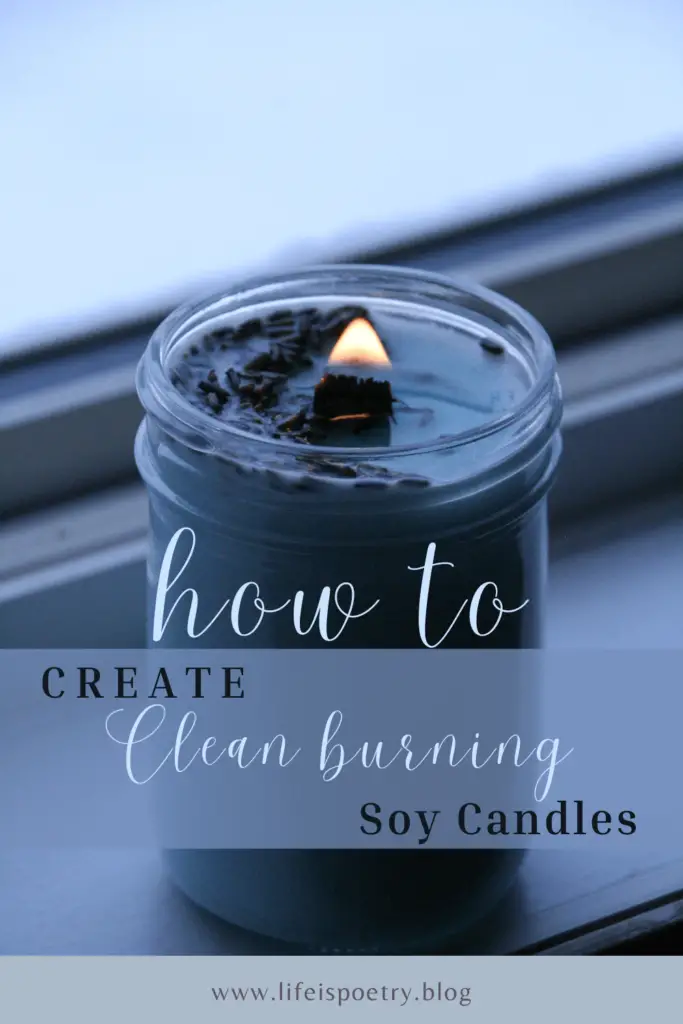

Homemade, clean burning soy candles are not only better for your home, but they also add a special touch of warmth and ambiance to any room. Soy wax candles are made from natural, renewable resources and burn cleaner than traditional paraffin wax candles, producing little to no soot. This means that they’re not only better for the environment but also for your indoor air quality.
Soy wax is a natural, renewable resource that burns cleanly and evenly, making it a perfect choice for homemade candles. By adding essential oils and pigments, you can customize the scent and color of your candles to suit your personal preferences. And by using mason jars, you can create a rustic, charming look that is perfect for any home decor. In this guide, we will walk you through the process of making soy wax candles step by step, so you can create your own beautiful candles in no time.
What You’ll Need:
Here are the supplies you will need to make your own clean burning soy wax candles.
- Vessels I chose mason jars. You can use anything you like. Get creative!
- Wicks I’m using wooden wicks.
- Wick Stickers wick stickers are double sided stickers which keep the wick in place.
- Soy Wax Flakes Which I’ve also bought from amazon.
- A Double boiler or make one using using a pot of boiling water and a glass measuring cup
- A thermometer I used a kitchen thermometer.
- Pigment this is optional. I used mica pigment.
- Essential Oils If you use synthetic fragrances these won’t be clean burning candles.
- Stir Sticks
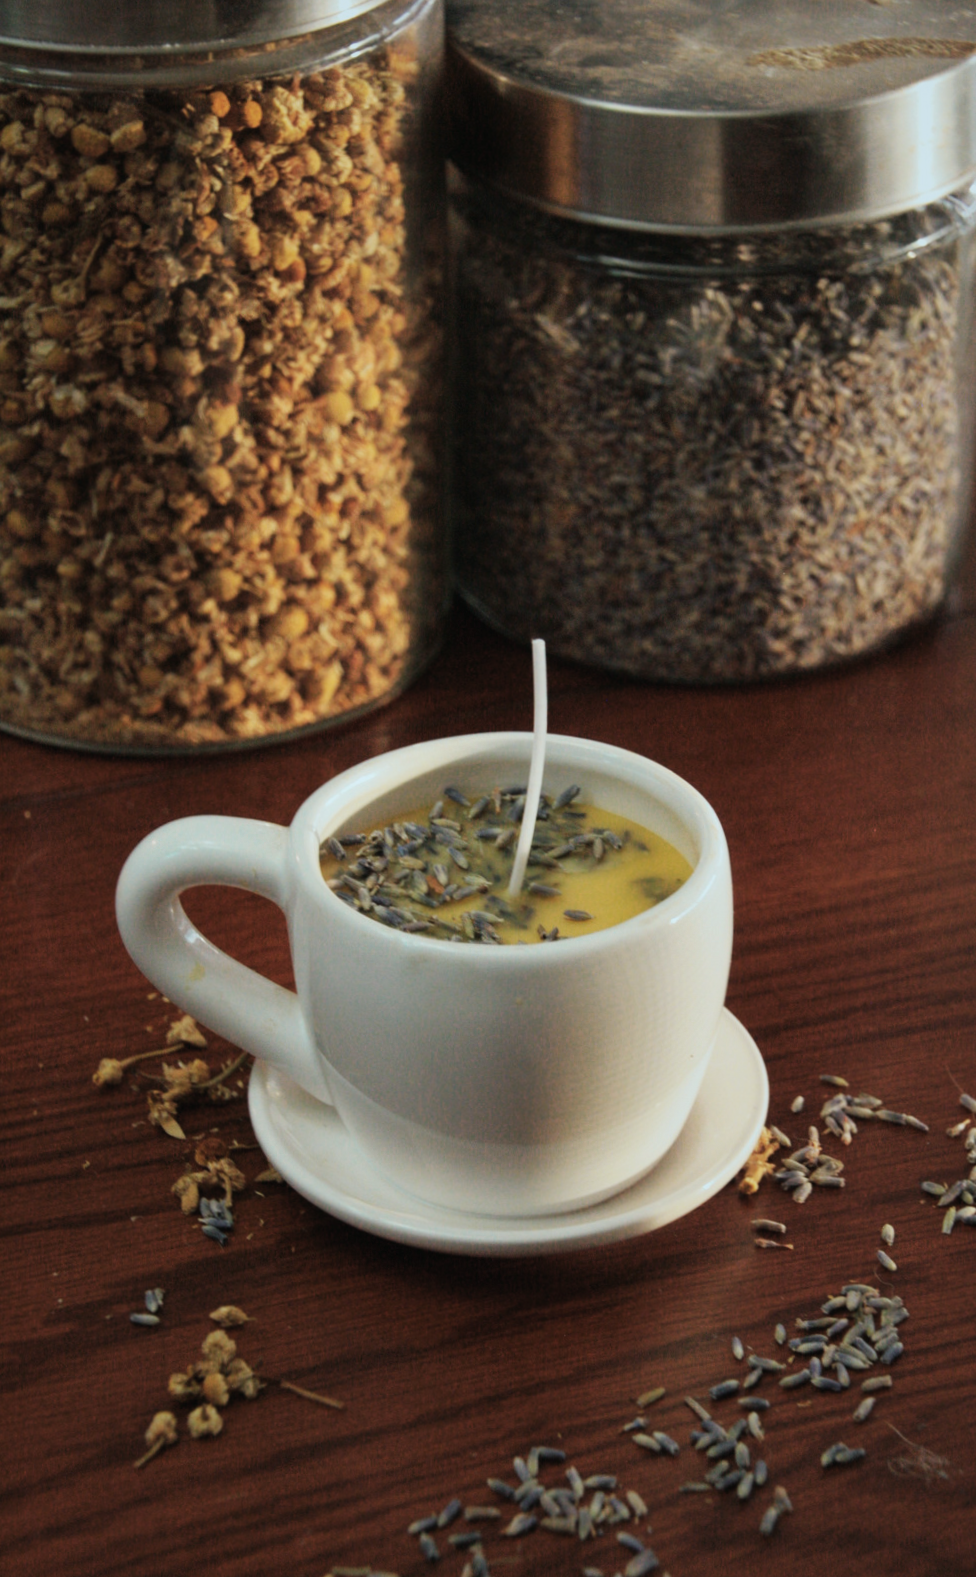
- Additional garnish for the candle optional, I used dried lavender flower.
What I Used

Wooden Wicks
These are the wicks I chose to use. Wooden wicks are clean burning, burn longer and have a nice burning wood smell.

Mason Jars
Mason Jars were an easy choice for me since I already had a few laying around. You can use almost anything as a vessel, but mason jars are easy to find at almost any store. You can also wash and dry a jam jam or something similar form your fridge.
Soy Wax Flakes
These are the soy wax flakes I chose to use. They were cheap and arrived within two days from amazon.

Essential Oils
The essential oils I chose for these candles were pre made blends that I found at the grocery store. One is a combination of grapefruit oil, sage, and geranium oil. The other is a blend of lavender, orange, patchouli, and ylang ylang oil.
Dried Flowers
I opted for dried flowers because I absolutely love the way a candle looks with dried flowers on top. If you wanted to add dried flowers to your candles, I suggest ordering them online since they aren’t super easily found in stores. Potpourri usually has dried flowers in it, and those could be use to decorate your candle as well.
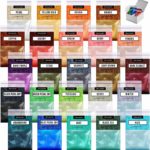
Mica Pigments
Mica pigments are in inexpensive way to color your candles. You can order them online or find them in a craft store. Usually they are sold in sets with a variety of colors.
Have Your Vessel Ready
It’s important to have your vessel ready before you start to melt your wax. Once the wax is melted, you’re going to need to act fairly quickly (and you don’t want to be frantic or flustered when dealing with hot wax).
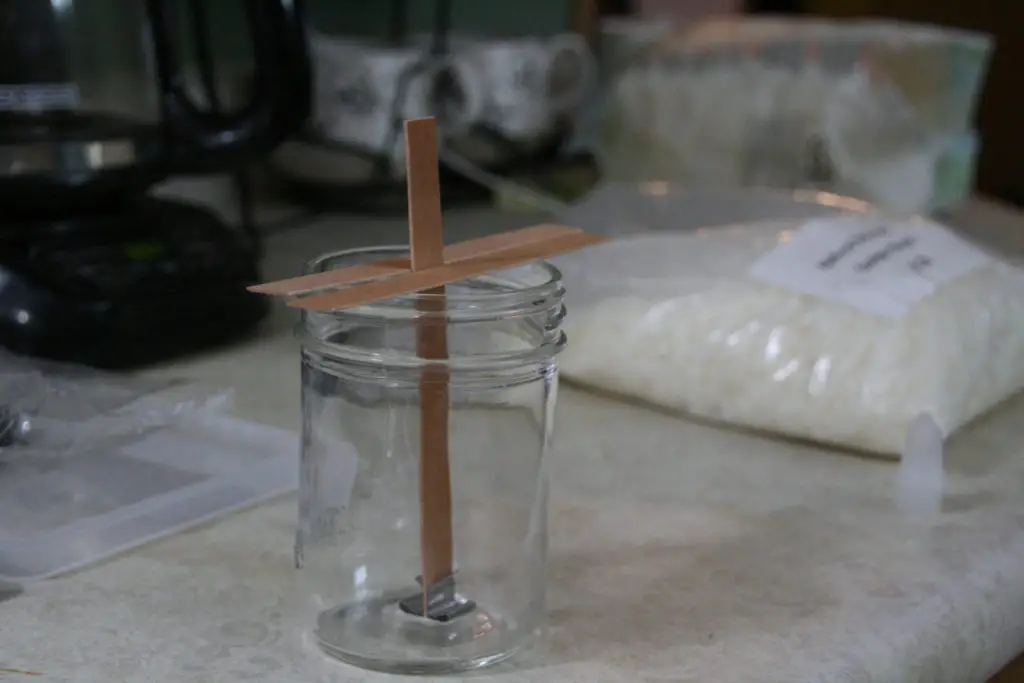
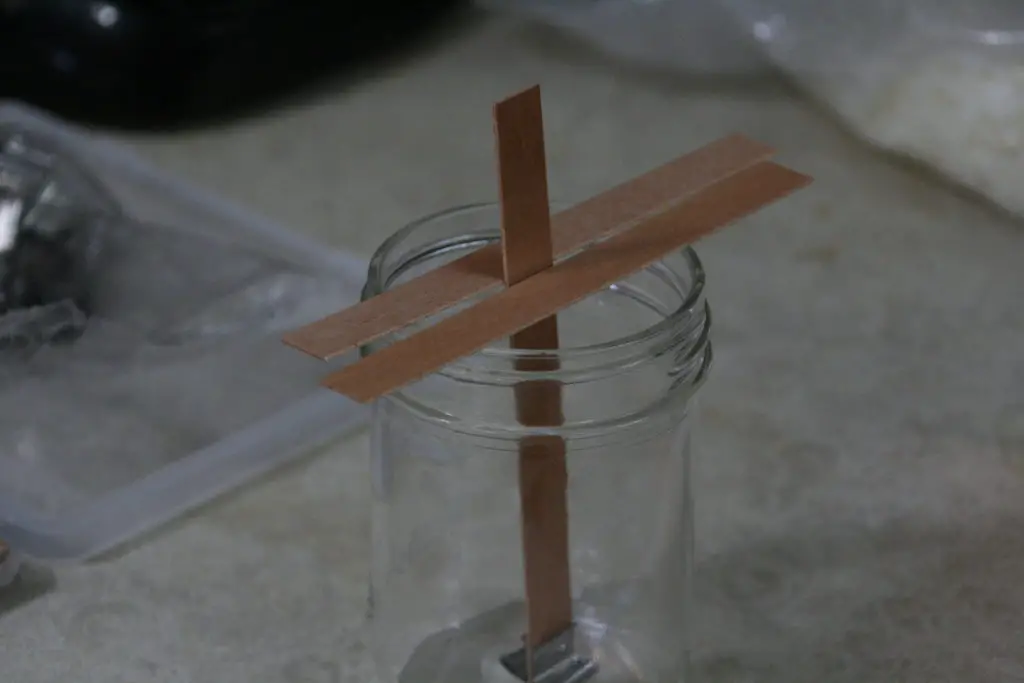
Wooden wicks are easier to deal in my opinion. These ones from amazon came with little metal pieces to keep the wicks upright. There are a few different way to keep your wicks in place. You can use hot glue, or waterproof adhesive, to glue your metal wick holders to the bottom of the jar. You can also place wick stickers to the bottom of the wick holders and stick them to the bottom of the jar. (I used Gorilla Waterproof Adhesive.)
If you are using cotton wicks, you are going to need to stick the bottom of the wick to the jar using a sticker or glue, and keep the wick centered. To demonstrate how to do this I placed two unused wooden wicks on top of the mason jar to keep the wick centered. You could use two chopsticks, two pencils, anything you can place on either side of the wick to keep it centered. This is not necessary using a wooden wick, I did this in the photo just to demonstrate.
Melting The Wax
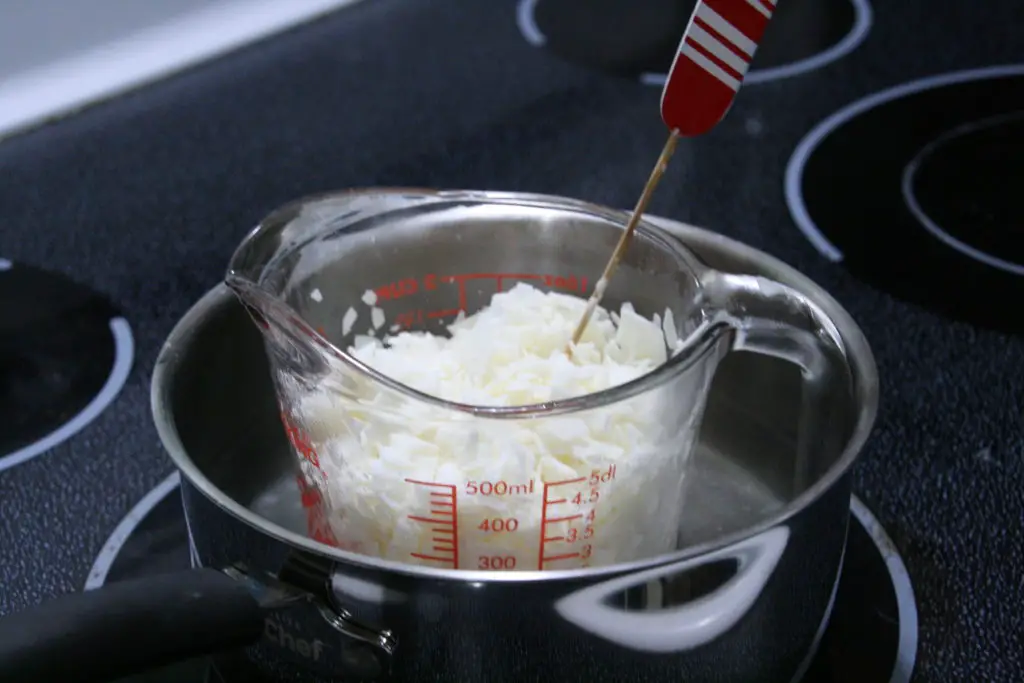
First you ‘re going to need a double boiler. If you plan on making candles often, it’s best to invest in a large one. Otherwise, you can make one using a pyrex measuring cup in a pot of boiling water. For the sake of this tutorial, I’ll be assuming you are using a measuring cup like I did.
Before adding the wax flakes to your measuring cup, keep in mind the the wax will melt down to half the size.
Once your wax is in the measuring cup, get the water to a soft boil. The wax will gradually star to melt. Keep stirring it occasionally until it’s a pourable consistency with no clumps of wax remaining. Using your thermometer, make sure the wax does not exceed 200 degrees fahrenheit. If you are adding pigment to your candle, now is the time. A little goes a long way, I added 1 teaspoon per candle.
Remove the cup from the hot water and set it somewhere (not somewhere with a draft!) to cool to 135° F.
Adding Fragrance
Now that your wax has had roughly one minute to cool down, it’s time to add your fragrance. I opted for essential oils to make these clean burning candles, if you were planning on making regular soy candles feel free to use synthetic fragrance instead. Here is a great guide for measuring out synthetic fragrance if that’s what you choose. When using essential oils, it isn’t necessary to get exact measurements using a scale. The two candles I made were in 12 ounce mason jars, and I melted the wax for each candle separately since my measuring cup could only hold 16 ounces of wax. For each candle I added 60 drops of essential oil, and stirred quickly for about 15 seconds. Now It’s time to pour.
Pouring Your Wax
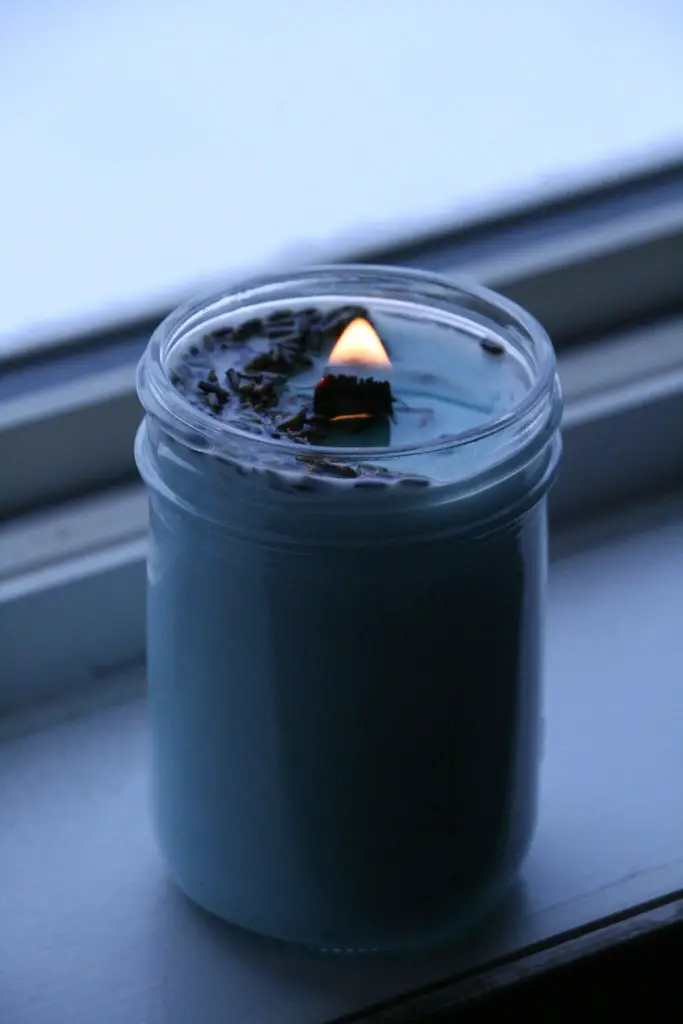
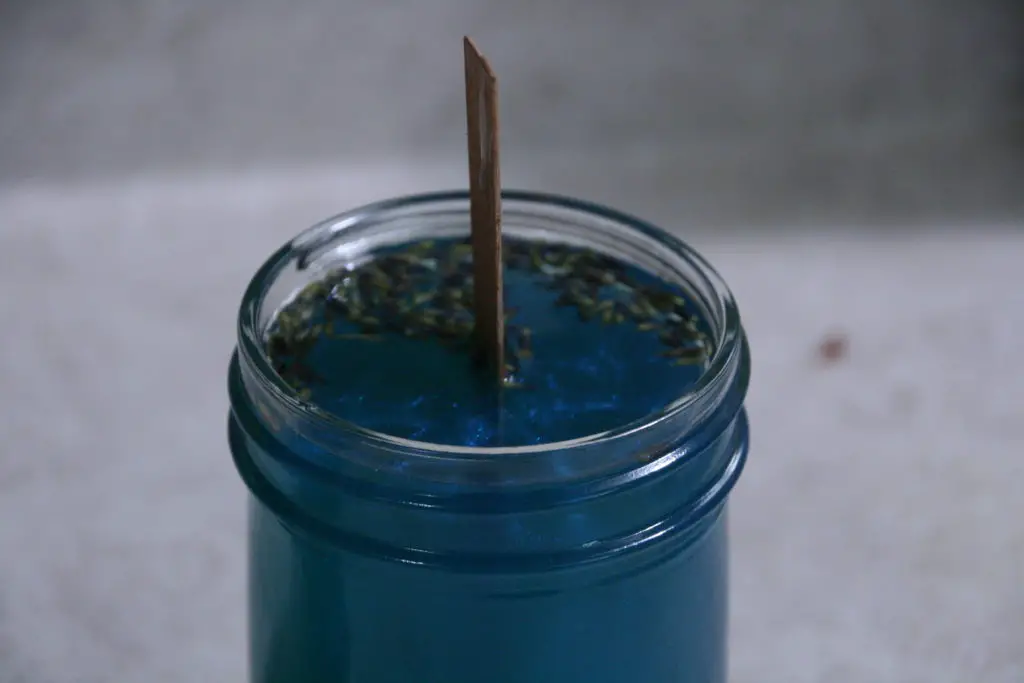
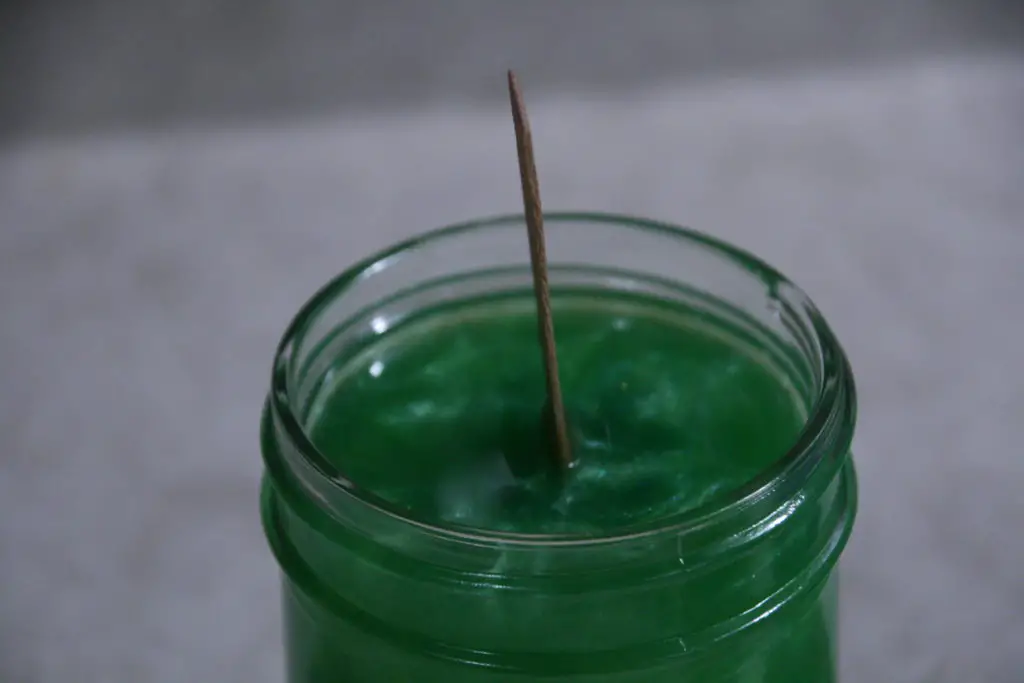
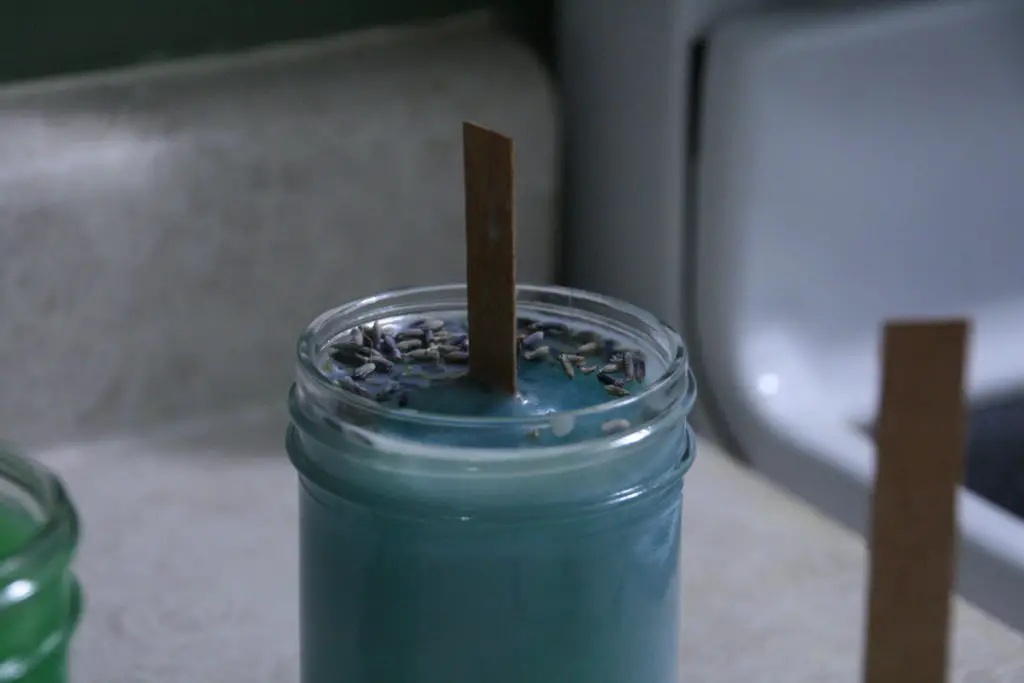
Don’t worry, this is the easy part. Pour your wax (not to fast) into your ready vessel. I sprinkled dried lavender flower on top of the blue candle, which is the candle that had been scented with the blend of oils containing lavender, orange, patchouli and ylang ylang. Because I added this garnish when the wax was not yet dried, they are going to be lightly coated in wax once the candle solidifies.
We want these candles to cool very slowly. Soy wax can be finnicky, and if cooled to quickly can cause sinkholes. If you notice sink holes forming at the top of your candle as it solidifies, a great fix is to poke holes and then carefully re melt the wax at the top of the candle. Here is a great guide on fixing sinkholes.
After a few hours you can trim the wick down to size.

Review
Now that we’re finished creating these candles, let’s review how they turned out. Do you like the finished product? Was there anything you would like to do differently next time? You may decide you would like to use a different scent or style of wick once you’ve burned your candle for the first time. In my experience, using shorter and wider vessel resulted in a nicer candle than using the taller slimmer mason jars I chose. It also burned better once the candle was fully cured and I was able to test it out.
So far each time I’ve made candles I’ve learned something new. With each trial and error, you’ll improve your skills and develop your own unique style. Embracing the learning process and being open to experimentation is what makes candle making so fun and enjoyable.
Enjoy your handmade soy candle!
Now all that’s left to do is enjoy your handmade, personalized, clean burning candle. Thank you for reading this tutorial on how to make clean burning soy wax candles. I hope you found it informative and helpful in guiding you through the process of creating beautiful, handmade candles. I believe that making candles at home is not only a fun and rewarding hobby, but it also allows you to create unique and personalized pieces that can be enjoyed by yourself or given as gifts to loved ones. And I hope that you have a great time making your own candles, and you enjoy the beautiful and clean burning candles that you have created.
If you would like to make clean burning candles using beeswax, check out this tutorial!